
The Holybro X500 PX4 Development Kit finally arrived, and I had no clue what to expect. It was mostly plug and play although some custom firmware was required. This project is all about building a development platform for future autonomy, computer vision, ROS 2 integration, and companion computer experiments.
The Hardware
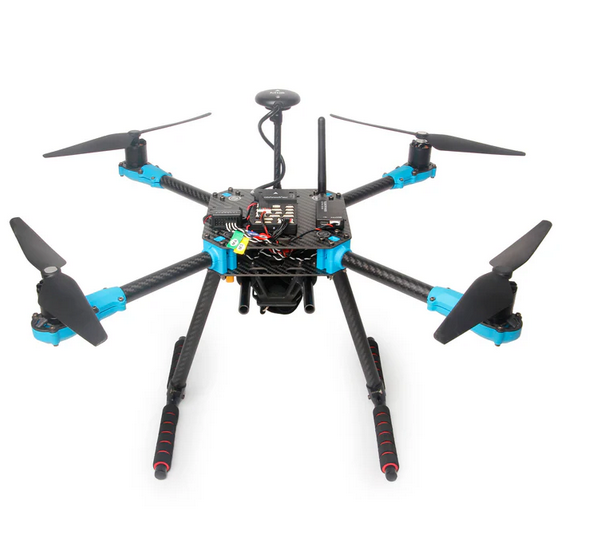
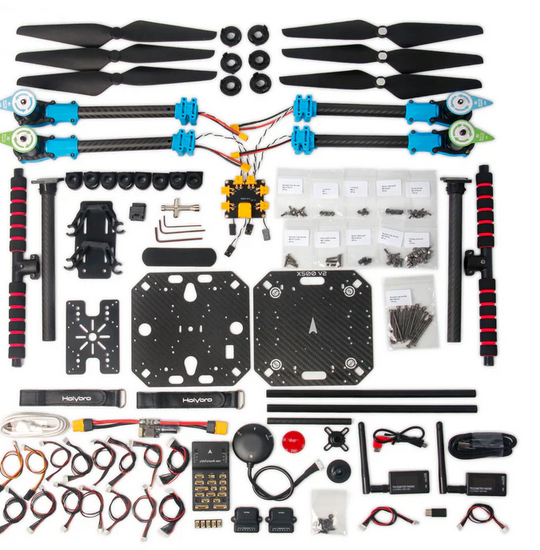
For this build I chose the Holybro X500 V2 PX4 Development Kit, which includes:
- Pixhawk 6C Flight Controller
- M10 GPS
- SiK Telemetry Radio
- X500 Carbon Fiber Frame
- Motors and ESCs
- Power Distribution Board
- PX4 Firmware
The long-term plan is to add a Raspberry Pi companion computer, camera system, and autonomous software stack using PX4 and ROS 2.
Radio Setup Challenges
The first challenge was to get our RC controller working.
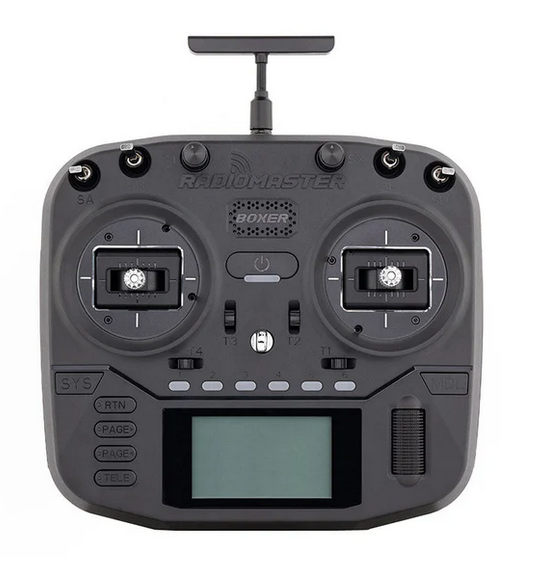
I purchased a RadioMaster Boxer for my RC transmitter. The Boxer is able to control the PX4 system using ExpressLRS. In order to make this work, I had to install custom PX4 firmware on the Pixhawk 6C and change 2 parameters on the QGlobalCommand software.
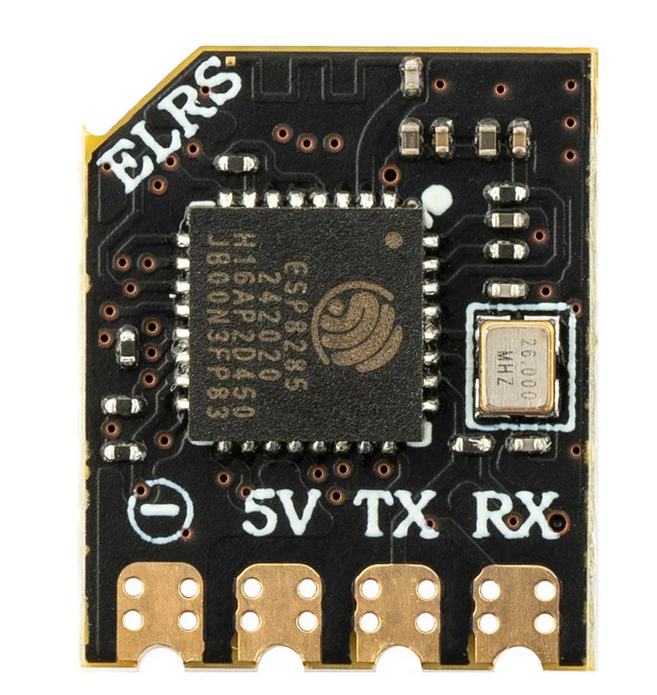
The receiver I am using is the RadioMaster RP1 V2 ExpressLRS Reciever.

RadioMaster Boxer to RP1 V2 Setup:
- Set up a model on the Boxer for the RP1 receiver.
- Configure the internal RF module for ExpressLRS
- Bound the receiver
- Required unplugging and plugging in the RP1 receiver so that it went into bounding mode.
- Confirm controls are being received
Eventually the receiver LED went solid, confirming a successful bind.
CRSF Telemetry
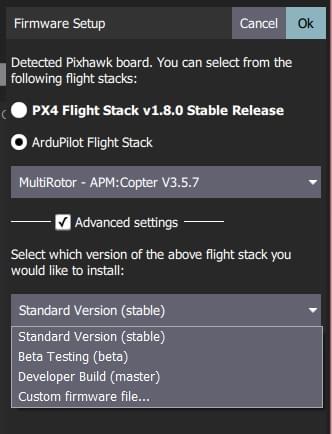
In order to use our ELRS control protocol, I needed to use Crossfire/CRSF configurations on the PX4 side. PX4 documentation explains how to configure CRSF telemetry, including how to flash custom firmware onto the Pixhawk 6C.
We download the PX4 source code and run ubuntu.sh:
git clone https://github.com/PX4/PX4-Autopilot.git --recursive
bash ./PX4-Autopilot/Tools/setup/ubuntu.sh
We launch the px4 board config tool using the boardconfig option (Our target is the Pixhawk 6C):
cd ~/PX4-Autopilot

make px4_fmu-v6c_default boardconfig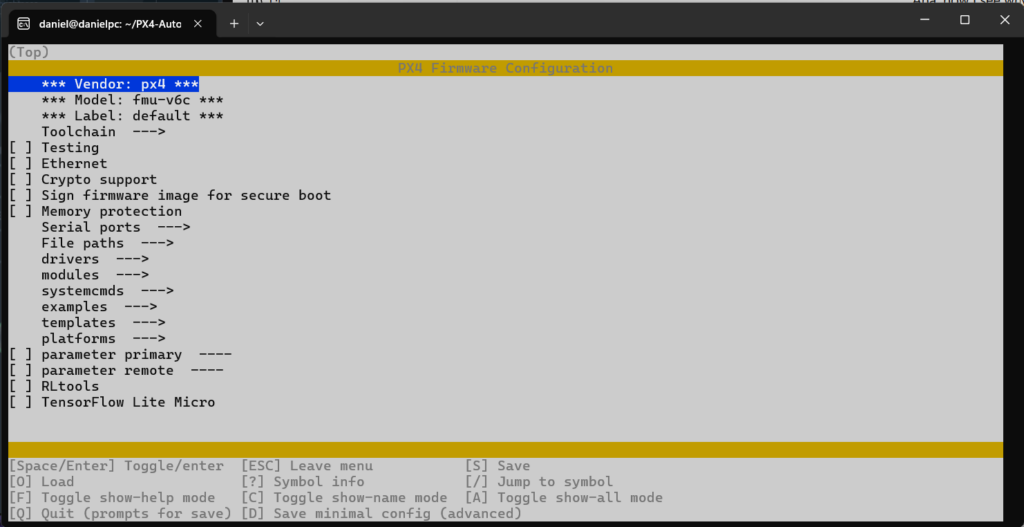
In the PX4 board config tool:
- Disable the default
rc_inputmodule- Navigate to the
driverssubmenu, then scroll down to highlightrc_input. - Use the enter key to remove the
*fromrc_inputcheckbox.
- Navigate to the
- Enable the
crsf_rcmodule- Scroll to highlight the
RCsubmenu, then press enter to open it. - Scroll to highlight
crsf_rcand press enter to enable it.
- Scroll to highlight the
Save and exit the PX4 board config tool.
Then we build the source code:
make px4_fmu-v6c_defaultAfter that we flash the custom firmware onto the Pixhawk using QGroundControl. We also are required to change 2 parameters.
QGroundControl Configuration
Once communication was established, the next step was configuring PX4 through QGroundControl.
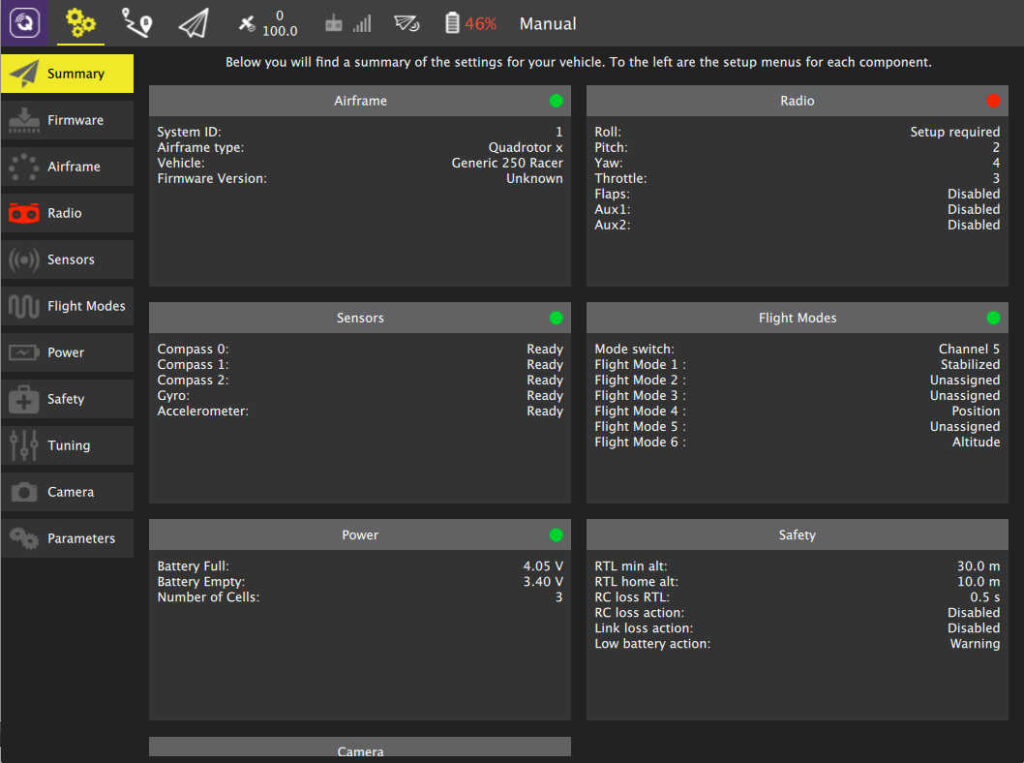
This involves:
- Radio calibration
- Accelerometer calibration
- Compass calibration
- Flight mode configuration
- Safety checks
- Actuator verification
- GPS verification
I also discovered that some warning messages can appear intimidating even when they are not actively preventing flight. One example: “Navigation error: No valid position estimate” This warning appeared because the vehicle did not yet have a reliable position solution. PX4 correctly warned about the condition, but did not trigger a failsafe action.
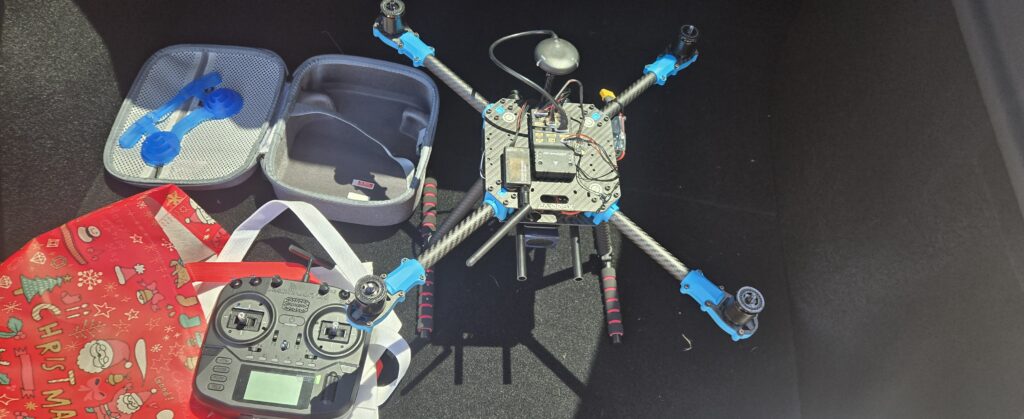
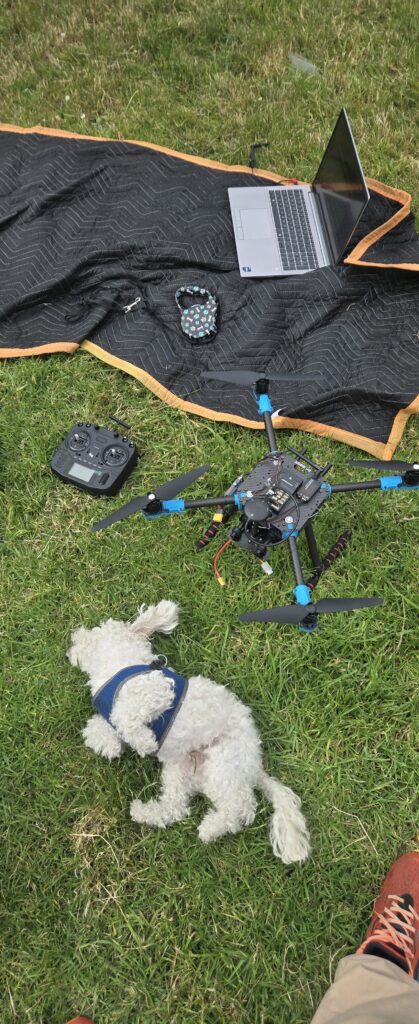
First Flight Testing
With the radio working and PX4 configured, it was finally time to fly.
Looking Ahead
The real goal of this project goes far beyond manual flight.
Upcoming development plans include:
- Raspberry Pi integration
- Onboard computer vision
- ROS 2 integration
- Camera systems
- Object tracking
- Autonomous navigation experiments
- PX4 software development
The X500 platform was chosen specifically because it provides a robust and open development environment rather than being a closed consumer drone.
Lessons Learned
A few takeaways from the first phase of the project:
- PX4 is extremely powerful, but there is a learning curve.
- ExpressLRS provides excellent radio performance once configured.
- Reboots solve more PX4 configuration issues than expected.
- Documentation gets you 80% of the way there; troubleshooting gets you the final 20%.
Overall, the project has already been a great learning experience. The drone is flying, telemetry is working, and the foundation is now in place for future autonomy and robotics experiments.